How to Make a Pottery Mug: A Step-by-Step Guide from Clay to Glaze

A mug is the first thing most potters make and the last thing they truly master. It gets picked up every morning, filled with hot coffee, stacked in a dishwasher and knocked off the arm of a sofa at least once in its life. That is what makes it such an honest test of your throwing: the walls need to be even, the handle needs to balance, and the glaze has to survive daily use. Here is the whole process, from a lump of clay to something you can actually drink from.
Pick a Clay Body That Suits a Mug
Mugs take thermal shock and rough handling, so a mid-range or high-fire stoneware is the sensible default. It vitrifies, which means it becomes dense and strong, and it copes far better with boiling water and dishwasher cycles than most earthenware. Porcelain works beautifully too, but it is less forgiving on the wheel and shows every wobble, so it is rarely the best choice for a first batch.
Weigh out your balls of clay before you start. For a 300ml mug, around 350–400g is a comfortable starting point, and throwing a few balls of the same weight is the fastest way to build consistency. Wedge each one properly — spiral wedging or a ram's head method, whichever you were taught — to work out air pockets. Trapped air is what turns a promising cylinder into a collapsed one halfway through pulling.
Throwing the Mug Body
Throw on the drier side of soft. A slightly firmer clay holds its shape and gives you cleaner walls than clay that is still sticky from the bag.
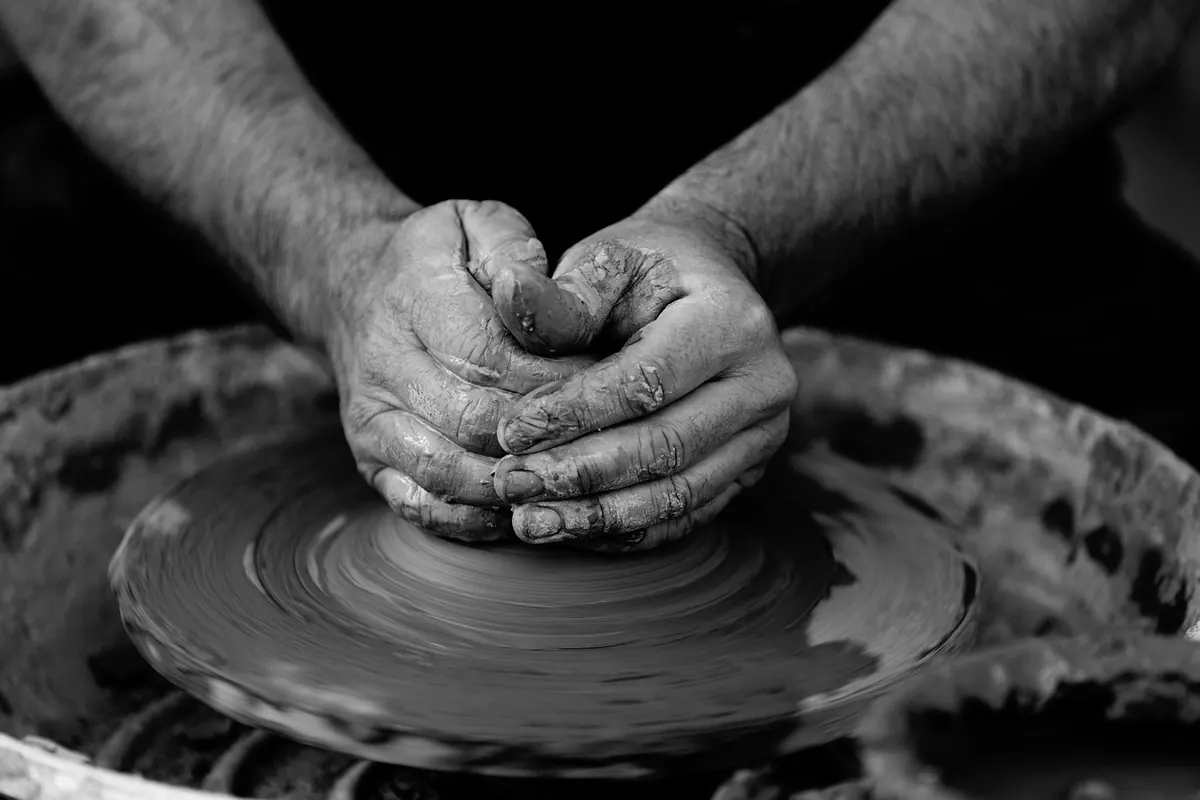
- Centre. Press down and in with both hands until the clay spins without wobble. If it fights you, it is not centred yet, and nothing after this step will go well.
- Open. Push a thumb or fingers down into the middle, leaving a base around 8–10mm thick.
- Pull the walls. Work from the base upwards in slow, even passes. Aim for walls between 5mm and 8mm — thick enough to hold heat, thin enough to feel light in the hand.
- Shape the profile. A gentle belly with a slight taper towards the rim is comfortable to hold and easy to stack. Keep the curve continuous rather than stepped.
- Compress the rim. Run a damp sponge or a chamois leather over the top edge. A rim that is marginally thicker than the wall resists chipping far better than a knife-sharp one.
- Wire off and lift. Cut under the pot with a wire, then lift it onto a board without squeezing the walls.
Trimming and the Foot
Let the mug dry to leather hard — firm enough to hold its shape, soft enough to carve. In a cool workshop that might take a day; keep it wrapped in plastic so it does not dry unevenly and warp.
Trim a shallow foot ring, then hollow the centre of the base. Leave the ring itself a little thicker than the walls; that is the part that hits the table. A slightly chamfered outer edge reduces chipping and stops the mug rocking. If the walls feel thin between your fingers, stop — a mug with a trimmed-through base is firewood.
Making and Attaching the Handle
You need three things from a handle: it should fit the hand, it should be strong, and it should look like it belongs on that pot. Pulled handles give you the most character. Take a tapered lump of clay, wet your hand, and draw the clay downwards in smooth strokes until you have a strap of even thickness, then set it aside to firm up slightly.
Attach the handle when the body and the handle are at roughly the same moisture level, usually leather hard. Score both surfaces, add slip or a little vinegar and water, press the clay together firmly, and blend the joins with your thumb, working the clay into the pot rather than just smearing over the top.
For proportions, leave roughly 3–4cm of space between the handle and the wall — enough for two or three fingers — and line the top of the handle up so it sits just below the rim. Rest the mug on its side, supported with a soft cloth or a bag of clay, while the handle firms. Gravity is not your friend here.
If the handle does not feel comfortable the moment you pick the mug up, no glaze will fix it.
Drying and the Bisque Firing
Dry mugs slowly and evenly. Leave them loosely covered for a couple of days, then uncover them somewhere out of draughts and direct sun. Rushing this stage is the most common cause of cracked bases and S-shaped rims.
Bisque fire to around 1000°C, leaving the kiln to cool naturally. Once cool, check every pot for hairline cracks, sand any rough patches with a fine abrasive pad, and wipe off the dust with a damp sponge. Wax the base if you plan to dip-glaze — it saves a lot of scraping later.
Glazing for a Food-Safe Finish
Glaze choice matters more on a mug than on a vase, because the glaze is in constant contact with hot liquid. Use a glaze you know is food safe, from a trusted supplier or a well-tested studio recipe, and fire it to the temperature it was formulated for. A glaze that fits the clay properly — no crazing, no shivering, no pinholes — is a durable glaze.
- Glaze the inside fully. A poured liner glaze gives you an even, complete coating.
- Keep the foot ring clean. Wipe glaze off the base so the pot does not fuse to the kiln shelf.
- Test new glazes on tiles or small pots before committing a whole batch of mugs.
- Mix dry glaze materials wearing a mask and away from food areas — fine silica dust is a genuine hazard, and it is worth reading up on studio safety before you start mixing your own.
- If you are unsure whether a glaze is food safe, keep that pot decorative or refire it with a liner glaze you trust.
Dip, pour or brush, then tidy the rim with a damp finger. Aim for a glaze thickness similar to a credit card; too thin and it looks dry, too thick and it runs.
Final Firing and Testing
Glaze fire your mugs to the maturing temperature of your clay and glaze — typically somewhere between 1220°C and 1260°C for stoneware — and let the kiln cool slowly, ideally overnight, to avoid dunting. When the kiln is finally cool, the moment of truth: fill each mug with boiling water, wait, then check the outside for seeping. Tap it, hold it, drink from it for a week.
Keep a note of the clay, the glaze and the firing temperature with every batch you make. The mug that feels right in your hand is rarely an accident — it is the one you measured, dried slowly and tested properly. Make six next time, not one, and you will learn more from comparing them than from any single pot.
Photo: ugglemamma / Pixabay