What Is Raku Firing? A Beginner's Guide to This Dramatic Technique
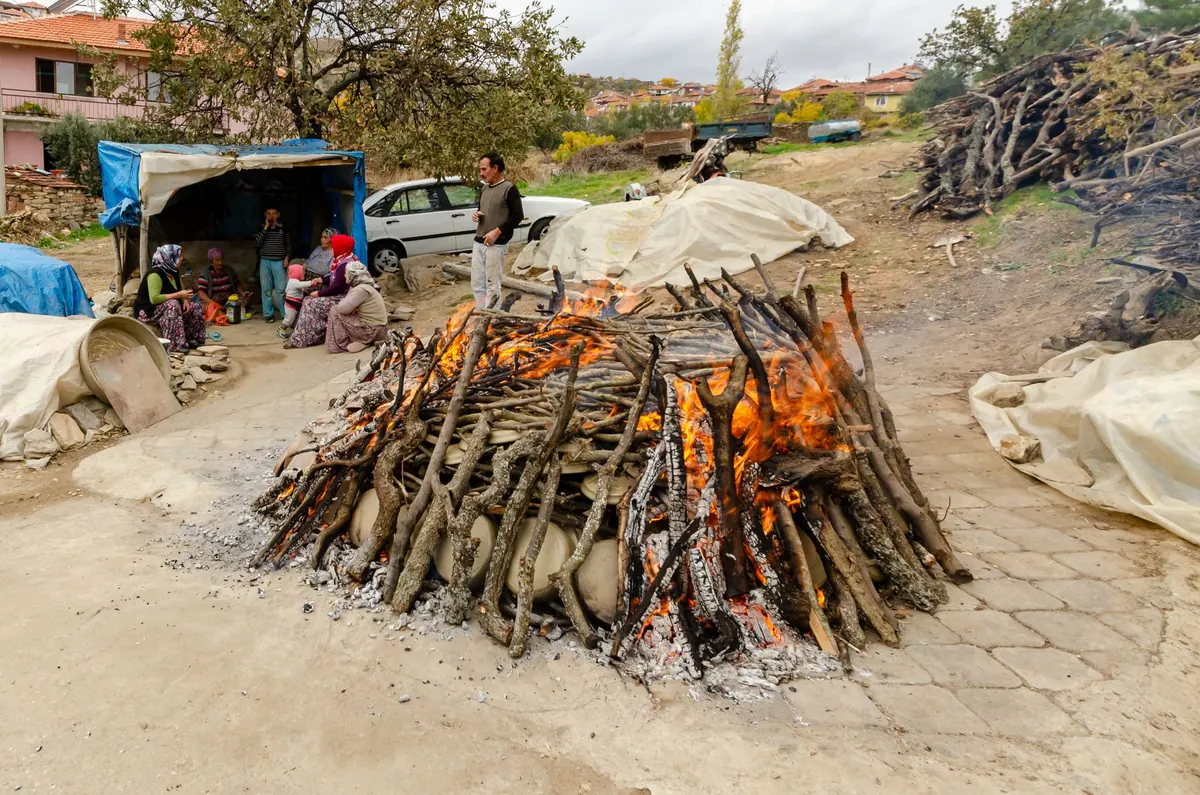
Raku is the firing technique that turns potters into firefighters, at least for an afternoon. You heat a glazed pot until the surface is molten, pull it glowing from the kiln with a pair of long tongs, and drop it into a bin of sawdust. Flames jump, smoke rolls, the lid goes on — and a few minutes later you have a pot with colours and crackle you could not have planned.
It is fast, low-tech and genuinely exciting. It is also the one firing method where a careless afternoon can land you in trouble. Here is how raku works, what to expect from the results, and how to do it without hurting yourself or annoying your neighbours.
What actually happens during a raku firing
Raku is a low-temperature, fast-firing process that finishes outside the kiln. A bisque-fired pot is glazed and placed in a small kiln — often gas, sometimes electric or wood — and heated quickly, usually to somewhere between 900°C and 1,000°C. That is cooler than a stoneware firing, and the climb can take as little as twenty minutes.
When the glaze has melted to a glossy, wet-looking shine, the kiln is opened and the pot is lifted out while it is still glowing orange. It goes straight into a reduction chamber: a metal bin lined with sawdust, newspaper, straw or dry leaves. The lid goes on, the combustibles smoulder, and the oxygen-starved atmosphere pulls metals in the glaze towards colours they would not otherwise produce. After ten to twenty minutes the pot is either left to cool slowly, which gives softer smoke effects, or quenched in water, which gives crackle.
Almost everything dramatic about raku comes from one thing: thermal shock. The pot is hot, the bin is not, and the water is colder still. Glaze and clay shrink at different rates, the glaze crazes into a fine web, and carbon from the smoke seeps into the cracks. That is the look.
Traditional raku and Western raku are two different things
The word raku comes from Japan, where it has been used for tea bowls since the sixteenth century. Traditional Japanese raku is a restrained business: hand-built bowls, black or red glaze, low-fired, pulled from the kiln and cooled quickly. They were made for the tea ceremony and valued for quiet, weighty simplicity. Raku is often translated as "pleasure" or "enjoyment", which tells you something about the spirit of it.
The Western version is far more theatrical. It developed from the 1960s onwards, with the American potter Paul Soldner widely credited with introducing the post-fire reduction bin that most of us now picture when we hear the word. Same principle of pulling hot pots, different priorities: smoke, colour and surprise.
Both are worth doing. Just be aware that if you book a "raku workshop", you are almost certainly getting the smoky Western version rather than a tea bowl.
The raku firing, step by step
- Bisque fire first. Raku clay is formulated to survive thermal shock, but greenware is not. Fire it once to around 1,000°C, or at the very least make sure the pot is bone dry.
- Glaze thinly. Raku glazes usually go on in one or two thin coats. Apply them thickly and the glaze may shiver off in the quench.
- Load and fire fast. Cold kiln, pots in, lid on, burners up. Watch through the peephole rather than the clock — you are waiting for the glaze to lose its dry, powdery look and turn glossy.
- Pull the pot. Long tongs, steady hands, no rushing. Set it down gently in the reduction bin rather than dropping it.
- Reduce. Sawdust, newspaper, straw, a handful of dried seaweed — whatever you have to hand. Lid on, and let it smoke for ten to twenty minutes.
- Quench or cool slowly. Straight into a bucket of water for heavy crackle, or left in the bin or on a fire brick for gentler smoke effects.
- Scrub it clean. Raku pots come out black with soot. A scouring pad and warm water reveal what you actually made.
What raku pots look like
Raku is not a technique for control freaks. The kiln, the smoke and the quench all have a say, and part of the pleasure is that you are working with that rather than against it. Common results include:
- Crackle. Fine crazing from the quench, often highlighted by carbon sitting in the cracks.
- Copper reds and purples. Where copper in the glaze meets a reducing atmosphere.
- Metallic flashes. Bronze, steel and pewter effects, especially on copper-rich glazes.
- Carbon trapping. Grey and black smoky patches where soot has bonded with the molten glaze.
- Matte blacks and dry oranges. The traditional Japanese palette, understated and hard to fake.
You can also decorate the hot pot itself: pressing horsehair or feathers against the surface leaves carbon lines, ferric chloride brushed on before firing gives rusty orange flashes, and masking areas with a resist lets the bare clay show through. Thin-walled, small-to-medium pieces survive the shock best. Expect a fair share of casualties at first — cracked rims and glazes that flake are part of the learning, not a sign you have done something wrong.
Safety, the part nobody should skip
Fumes and smoke
Burning sawdust and newspaper produces carbon monoxide, which is invisible and odourless, and glaze ingredients can vaporise at these temperatures. Fire outdoors, in the open, and stay upwind. Never fire in a garage, shed or under a carport, even with the door open. Give neighbours warning and check local rules on smoke and open burning before you light anything.
Heat and burns
Wear leather or heat-resistant gloves, a face shield or safety glasses, long sleeves and closed leather boots — not trainers, and never anything synthetic. Use tongs long enough that your hands stay well clear of the pot. Keep the water bucket away from the kiln and away from any electrics; the quench is for the pot, never for the kiln. Have a fire extinguisher nearby, and keep children and pets well back from the firing area at all times.
Glazes and food
Avoid lead in anything you make, and assume raku glazes are not food safe. Raku ware is porous, heavily crazed and often still carrying carbon; it can weep, stain and harbour bacteria. Use it for flowers, dry arrangements or display. If you want to drink from a pot, choose a food-safe glaze on a vitrified clay body instead.
Getting started without buying everything
The cheapest route in is a taster day at a local studio, where the kiln, tongs, bins and safety kit are already sorted and someone experienced is watching the flames. If you catch the bug, buy or build a small raku kiln rather than trying to adapt a big one, and keep a notebook of firing times, glazes and bin materials — the variables are many and memory is unreliable.
Start with a batch of small test tiles and simple bowls in a raku clay body. Fire four or five pieces at a time, work slowly, and accept that the first few loads will be lessons rather than pots. Then make more than you need, because the ones that survive will be unlike anything else on your shelf.
Photo: Deniz ŞENGÜL / Pexels