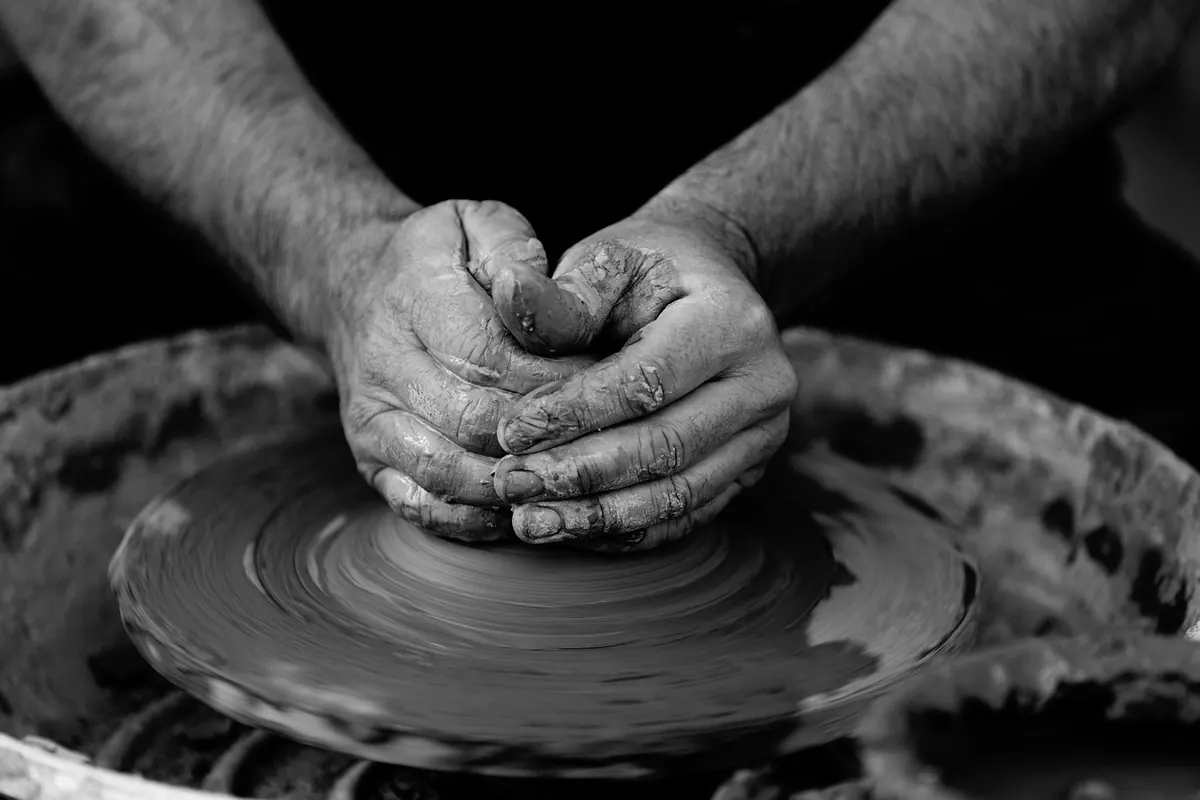
How to Wedge Clay Properly: A Step-by-Step Guide for Consistent Results
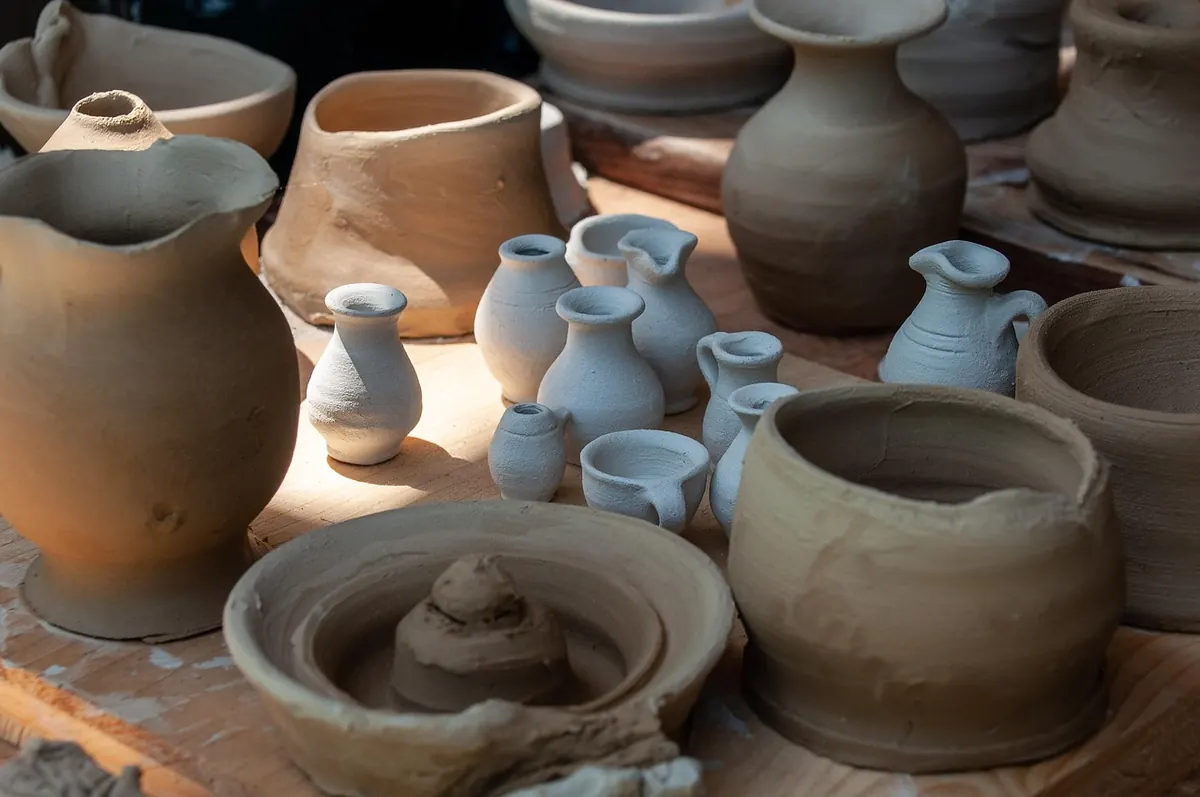
You can spend an hour on a pot and lose it in the first minute on the wheel. Usually the clay is to blame: a pocket of air, a stiff patch, or moisture that is not evenly distributed. Wedging is the quiet step that prevents most of those problems. It is not glamorous, but it is the difference between fighting the clay and working with it.
Why Wedging Matters
Wedging does two main jobs: it homogenises moisture and removes larger air pockets that cause lumps, blowouts, or weak walls. It also makes the clay more predictable under your hands. Pugged clay still benefits from a short wedge; reclaimed clay almost always needs it.
Aim for clay that feels consistent, with no sudden soft or hard spots and no obvious holes when you cut it with a wire. Clay dust is a respiratory hazard, so keep your wedging area damp, avoid dry sweeping, and wear a suitable mask when handling dry clay. If you have a respiratory condition, ask a healthcare professional about precautions in the studio.
Before You Start: Setup and Consistency
Choose a sturdy surface at a comfortable height. A plaster bat or a canvas-covered board is ideal. Plaster draws excess moisture away, while canvas stops the clay from sticking.
Check the clay's consistency. It should be firm enough to hold its shape but soft enough to move without a fight. If it is too stiff, wrap it in a damp cloth, seal it in a plastic bag, and leave it overnight. If it is too wet, place it on a plaster bat for an hour or two, turning it once.
Divide the clay into manageable balls. Cut each in half with a wire and check for hard lumps, dry patches, and obvious air holes.
Spiral Wedging Step by Step
Spiral wedging is the method most potters learn first. It is gentle, rhythmic, and works well for most clay bodies. The aim is to push the clay in a spiral pattern, folding it back on itself without trapping air.
- Shape the clay into a rough cone or ball. Press it down slightly so it sits flat.
- Place both hands on the clay with your fingers spread and your heels at the base.
- Push down and forward with the heels of your hands, as if kneading bread. Use your body weight, not just your wrists.
- Fold the far edge back over the top towards you. Press the fold firmly to seal it.
- Give the whole mass a quarter turn.
- Repeat: push, fold, quarter turn. Keep the rhythm steady.
- Continue for two to three minutes, until the clay feels uniform and you see a spiral pattern forming.
Tip: If the clay starts to flatten into a pancake, reshape it into a ball. The motion should feel like a rolling wave, not a series of jerks. Cut a wedged ball in half to check the texture; it should look even.
Ram's Head Wedging Step by Step
Ram's head wedging is faster and more vigorous. It is useful for stiff clay, large batches, or clay that has been sitting in a bag for weeks. This method opens up the clay quickly, but it can trap air if you are careless with the folds.
- Form the clay into a block or thick slab.
- Lift the clay and slam it down onto your surface. This compresses it and breaks down hard lumps.
- Fold the clay in half towards you, like closing a book.
- Press down firmly with the heel of your hand, pushing away from you. Seal the fold as you go.
- Rotate the clay a quarter turn and repeat the slam, fold, and press.
- Work for two to four minutes, depending on the size of the batch. The clay should become softer and more uniform.
Tip: Keep the surface slightly damp but not wet. If the clay sticks, a light dusting of clay powder or a quick wipe with a damp sponge can help.
Which Method Should You Use?
Use spiral wedging when you want even moisture and a consistent body for throwing. Use ram's head wedging to revive stiff clay, work through a large amount quickly, or break down reclaimed scraps.
You can combine them: start with ram's head to soften the clay, then finish with spiral to even out the moisture.
Troubleshooting Common Wedging Problems
- Clay feels stiff and cracks when folded. It is too dry. Wrap it in a damp cloth, seal it in a bag, and leave it for a few hours or overnight.
- Clay sticks to the surface. It is too wet. Move it to a plaster bat or let it air-dry briefly.
- Air bubbles keep appearing. You are trapping air in the folds. Press each fold closed before the next push.
- The clay feels uneven. Give it more time. Cut it in half, stack the pieces, and wedge again.
- Your wrists ache. Use your body weight and keep your wrists straight. Take breaks.
A Short Practice Routine
Wedging improves with repetition. Set aside ten minutes before your next throwing session. Take three balls of clay, roughly one kilogram each. Wedge the first with the spiral method, the second with ram's head, and the third with a combination of both. Cut each in half with a wire and compare the cross-sections.
Keep a damp cloth over the clay you are not working on, and store wedged balls in a plastic bag. The more you practise, the more you will feel when clay is ready.
Photo: wal_172619 / Pixabay